
Simple Exercises for Beginners at Home: No Equipment, 10-Minute Routine
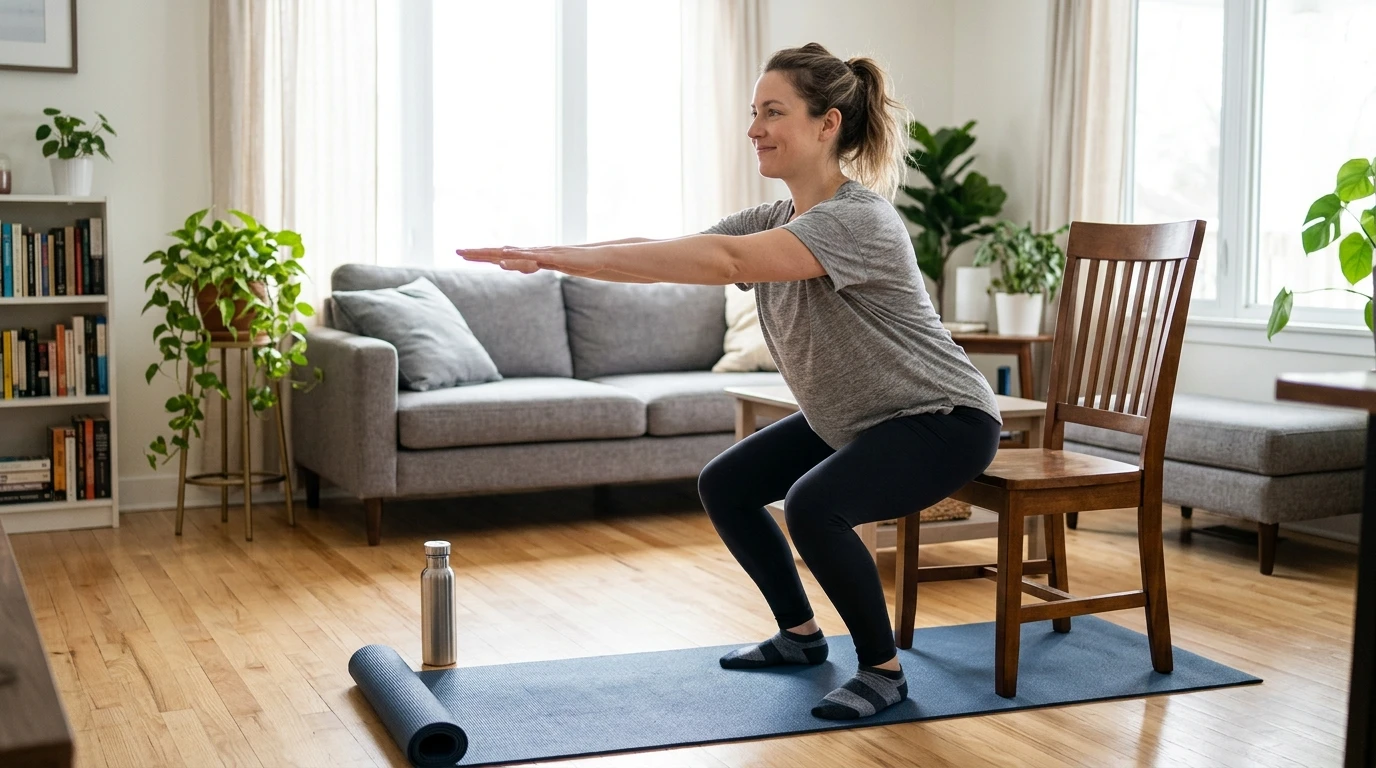
I remember standing at my living room wall, frustrated and sore. When I first tried wall push-ups, my legs kept slipping after just two or three. I landed hard and bruised my toe. My friends laughed when they saw me struggling. It stung, but I didn’t quit. I kept showing up, and eventually — slowly, carefully — I worked my way up to doing more than six in one session easily. That day I felt lighter, stronger, and like I’d finally found something that fit. If you’re starting where I was, I wrote this for you.
Start Where You Are
Most people quit not because they’re weak, but because they start too hard, too fast, somewhere they feel watched. A crowded gym? That’s enough to freeze anyone. Home is different. Curtains closed, music turned up, nobody timing you. You can mess up, laugh at yourself, and try again ten seconds later. That freedom matters more than any fancy gear.
Bodyweight training works. Squats, push-ups, planks — these existed long before machines. Your own weight is plenty to begin with. Be patient with your form. Muscle soreness? That’s normal. Sharp joint pain? That’s your body telling you to adjust or stop. Learn the difference and you’ll stay safe.
What You’ll Need
Almost nothing.
- A patch of floor roughly yoga-mat size
- Comfortable clothes you can move in
- One sturdy chair
- 10 minutes of uninterrupted time
Shoes aren’t required on carpet. No subscriptions, no gadgets, no excuses.
Quick-Reference Routine Table
Keep this table in mind before every session. It’s everything you need to know, no guessing.
| Exercise | Sets × Reps | Rest Between Sets | Modification |
|---|---|---|---|
| Wall/Incline Push-Ups | 2 × 8–10 | 30–45s | Hands higher on the wall |
| Chair Squats | 2 × 10 | 45s | Push off your thighs for support |
| Standing Marches | 2 × 20 (10 per leg) | 30s | Hold a chair for balance |
| Bird-Dog | 2 × 8 per side | 30s | Extend only one limb at a time |
| Glute Bridges | 2 × 12 | 30–45s | Place a pillow between knees |
| Modified Plank | 2 × 15–20s hold | 30s | Keep knees on the floor |
Do the full circuit once through in your first session. That’s genuinely enough. Repeat three days your first week.
The Full 6-Move Routine
1. Wall or Incline Push-Ups
Stand facing a wall, hands flat at shoulder height, feet one step back. Bend elbows to lower your chest toward the wall, then push back. Keep your body straight from head to heels.
From my experience: If your feet slip, widen your stance slightly or place them against a baseboard. Don’t rush. Two slow, controlled reps beat ten fast, sloppy ones. When wall push-ups feel easy, move your hands lower or do them against a sturdy table instead.
2. Chair Squats
Stand in front of your chair, feet shoulder-width apart. Sit back and down slowly until you lightly tap the seat, then stand back up. Keep knees tracking over your toes.
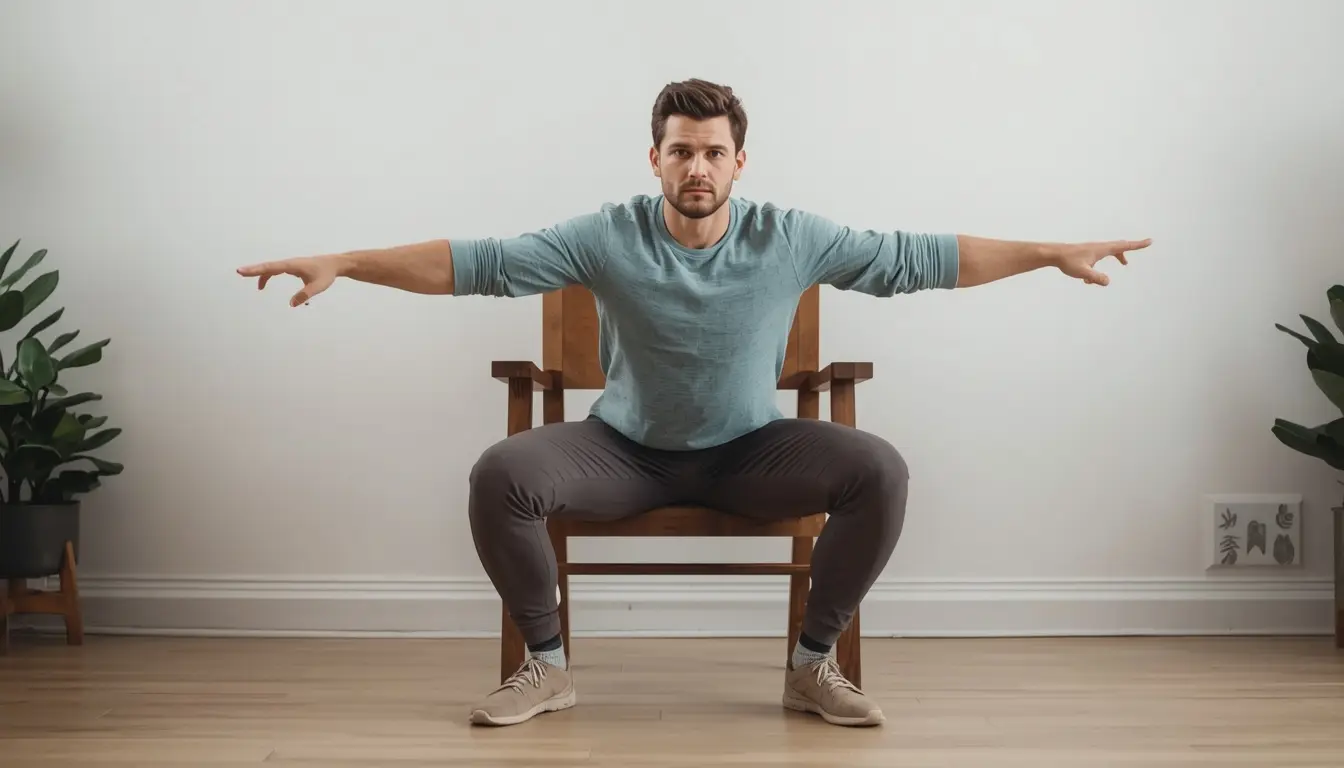
If standing feels tough, push gently off your thighs. That’s not cheating — it’s building the strength you need to do it unsupported soon.
3. Standing Marches
Stand tall. Lift one knee toward your chest, lower slowly, then switch. Keep it steady and controlled. If balance feels shaky, rest one hand on a chair. There’s zero shame in that.
4. Bird-Dog
Get on hands and knees — wrists under shoulders, knees under hips. Extend your right arm forward and left leg back at the same time. Hold briefly, then switch sides. Keep your spine neutral, like there’s a cup of water balanced on your back.
Wobbly? Master extending just your arm first, then just your leg. Do both together only when each feels solid on its own.
5. Glute Bridges
Lie on your back, knees bent, feet flat near your hips. Push through your heels to lift your hips until shoulders, hips, and knees form one straight line. Squeeze briefly at the top, then lower slowly. Don’t arch your lower back — stop when your spine is straight.
Slide a pillow between your knees for extra inner-thigh engagement if you like.
6. Modified Plank
Rest on your forearms and knees. Keep your body straight from shoulders to knees. Hold steady and breathe normally. Don’t hold your breath.
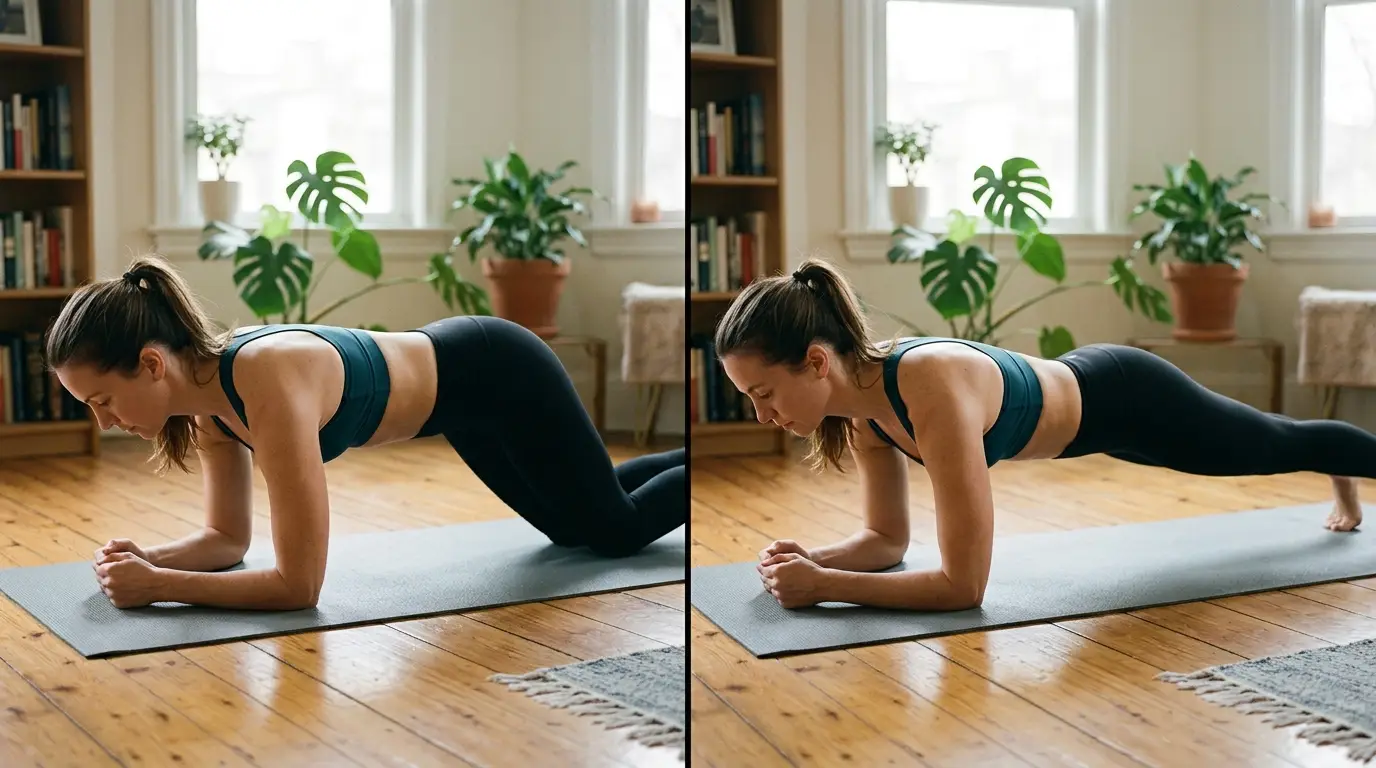
Start with 15 seconds. Build from there. Many people stay with knee planks indefinitely and still get excellent results.
Your 7-Day Starting Schedule
Keep it simple. No guessing.
| Day | What to Do |
|---|---|
| Day 1 | Full circuit — 1 round |
| Day 2 | Rest or slow 10-minute walk |
| Day 3 | Full circuit — 1 round |
| Day 4 | Rest or gentle stretching |
| Day 5 | Full circuit — 1 round |
| Day 6 | Rest or light walk |
| Day 7 | Rest completely — or repeat if you feel energetic |
Three workout days. That’s all. Your muscles repair and grow stronger on rest days, not workout days. Skipping recovery slows you down.
Ready for more? See our 10-minute full-body workout for beginners once this routine feels comfortable. For those needing gentler movement, our low-impact routine for over 40 fits perfectly alongside this plan.
How to Grow Stronger
Here’s how you advance without jumping to something that hurts.
| Stage | Push-Up Version | Squat Version | Plank Hold | Sessions/Week |
|---|---|---|---|---|
| Weeks 1–2 | Wall | Chair-assisted | Knees, 15–20 sec | 3 |
| Weeks 3–5 | Countertop/table | Freestanding | Knees, 30–40 sec | 3–4 |
| Weeks 6–8 | Floor with knees | Pause at bottom | Toes, 20–30 sec | 4 |
| Week 9+ | Full push-ups | Jump or single-leg variations | Toes, 45–60 sec | 4–5 |
Don’t rush the columns. Spend as long as you need in each one. Most people stay in the first two stages for a month or more — that’s healthy, not slow.
Need a plan built entirely for your starting point? Our workouts for beginners at home offer extra gentle alternatives.
What You’ll Actually Notice
Results show up before the scale moves much. Watch for these quiet wins:
- Climbing stairs feels easier — less huffing, less hesitation
- Your posture straightens naturally after sitting
- You move through your day with less stiffness
- Sleep deepens slightly
- Confidence grows — you’ll think “I can do this” instead of “I should do this”
Visible changes usually take 6–8 weeks. Trust the small daily wins — they’re the real progress.
Food & Recovery Notes
You don’t need a complicated diet. Keep it simple:
- Drink water before and after you move
- Eat some protein with meals — eggs, lentils, chicken, yogurt, beans — it supports muscle repair and keeps you full. Our list of high-protein foods for steady energy makes this straightforward
- Fill half your plate with vegetables
- Sleep 7–8 hours — that’s when most recovery actually happens
For broader guidance on sustainable habits, see the science-backed advice from Johns Hopkins Medicine: 8 ways to lose belly fat and live a healthier life.
Build a habit that lasts
Ready for more structure built around real life — not perfection? The $27 30-Day Fitness Reset gives you daily movement, meal ideas, and recovery habits designed to survive a bad week.
Learn more →Frequently Asked Questions
How long until I see results?
Most people notice small changes — less soreness climbing stairs, better balance — within 2–3 weeks of doing this three times a week. Visible changes usually take closer to six to eight weeks. Everyone’s timeline is slightly different.
Do I really not need any equipment?
No. Every move uses your body and a chair. A yoga mat is nice but optional. This is designed to be accessible.
What if I can only do a few reps at first?
Do what you can. Even half the listed reps with good form beat rushing through a full set. I started slipping and hurting myself. I kept showing up anyway. You’ll improve.
Can I do this every day instead of resting?
I don’t recommend it. Your muscles rebuild on rest days. Daily training without breaks raises injury risk and slows progress. 3–4 sessions weekly is ideal.
I missed a few days — should I start over?
Pick back up where you left off. One off-week doesn’t erase your progress. The people who stay consistent are the ones who forgive themselves and restart, not the ones who never miss.
When should I add weights or join a gym?
Once the advanced stage feels genuinely easy — usually around week 9–10 — that’s a reasonable time to consider it. Plenty of people stay with bodyweight training long-term and do great.
The Easiest First Step
Don’t wait for Monday. Don’t wait for new clothes. Don’t wait until you feel ready.
Right now, wherever you are, do two sets of wall push-ups. That’s it. Less than two minutes. Prove to yourself starting isn’t the mountain your head was making it out to be. Everything else can wait until tomorrow.
My legs slipped. I got hurt. People laughed. I still kept going. You can too.
Disclaimer. This is educational content, not medical advice. Results vary from person to person. Consult a healthcare provider before starting a new exercise or nutrition plan, especially if you have existing health conditions or pain.
Affiliate Links
- Yoga mat: Amazon link
- Light resistance band: Amazon link
- 14 Day Rapid Soup Diet: ClickBank link
Internal Links
Sources
- Johns Hopkins Medicine — 8 Ways to Lose Belly Fat
- USDA FoodData Central (nutrition references)
For more practical fitness guides, visit bodylix.com

Fitness Specialist & Former Tactical Trainer
Bal Krishna Poudel has spent more than 19 years in law enforcement organization, and fitness has been at the center of it all. He knows physical conditioning, dynamic strength training, and everyday wellness inside and out. For close to two decades, he taught at official police training centers, getting officers ready for the physical demands of the job—building their endurance and operational fitness. These days, he coaches people in his local community on strength and fitness. At 49, he doesn’t just talk about staying active—he lives it, showing up every day to train and move. He writes for Bodylix, where he shares workouts and nutrition advice that regular readers can actually use, backed by science and built around one goal: helping people stay strong and healthy for the long haul.

2 Responses