
Power Tower Workout for Beginners: 7 Steps, Routine, and Safety Checklist
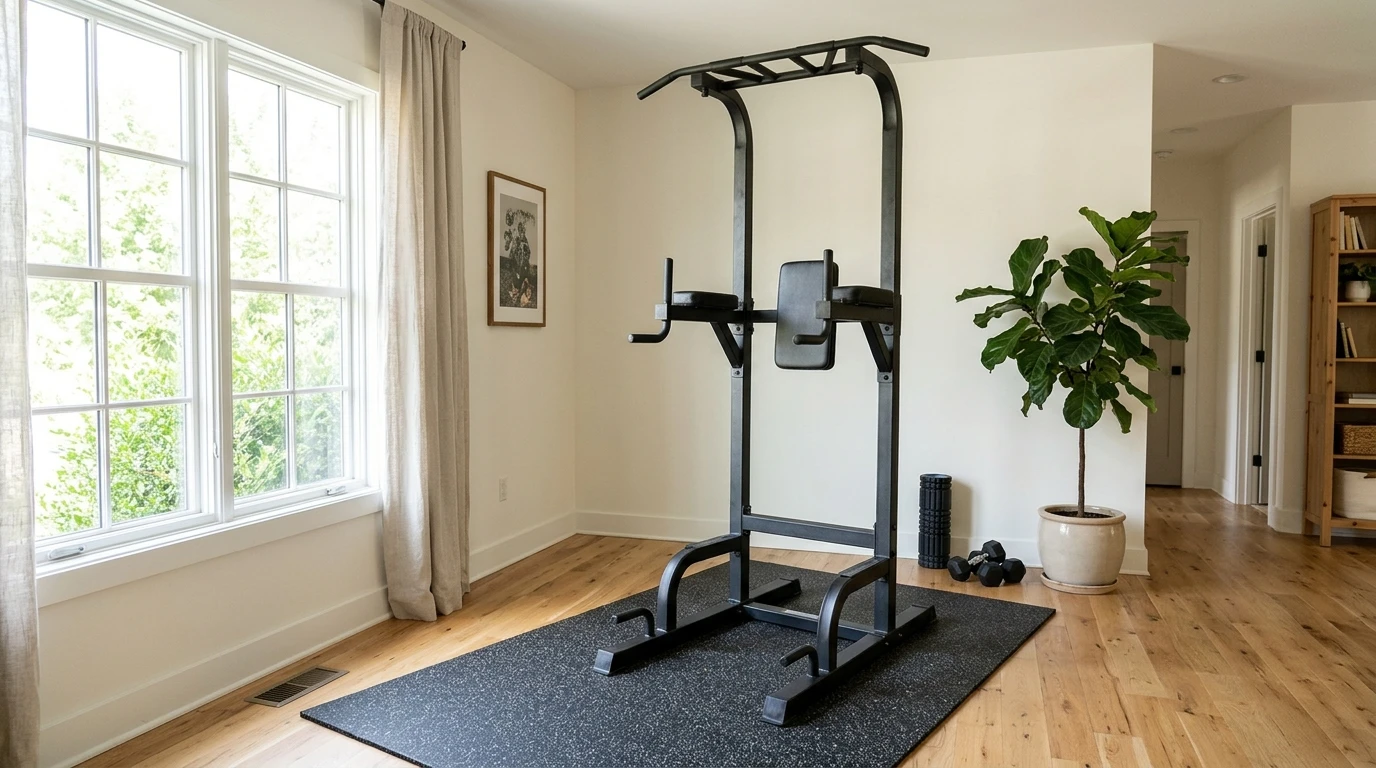
I got my first power tower back when monsoon rains flooded the roads and I couldn’t get to the gym for 11 days straight. I’d been thinking about it for months, but those rainy days made up my mind. I needed equipment that didn’t care if it was pouring, if the power was out, or if traffic was impossible. It sat in my living room for three days before I even touched it. I was worried I’d wasted money on something I couldn’t use. I couldn’t do one pull-up. Not even close. My first session was nothing but dead hangs and lowering myself as slowly as I could. But every second day I showed up anyway. Now that same tower is where I train 90% of the time. You don’t need to be strong to start. You start so you become strong.
What Most Guides Leave Out
Most articles about power towers cover the obvious stuff: pull-ups, dips, knee raises, 3 sets, rest a minute. They give you a list to copy. But they skip the things that actually keep you going and keep you safe:
- A plan for people who can’t even hang comfortably yet, let alone pull up
- Exactly where to put your shoulders and elbows during dips so you don’t hurt your joints
- How to go from simple knee raises all the way to full leg raises without swinging your body
- Setting it up right — ceiling height, floor space, tightening bolts, stopping it from wobbling mid-set
- What to change if your wrists, shoulders, or back feel sore
- A clear 6-week schedule that tells you exactly when to add reps and when to try something harder
- Different starting points — because “beginner” isn’t the same for everyone
That last one matters most. Some people are starting completely fresh. Others haven’t trained in a while. Some already have a little strength. This guide meets you exactly where you are.
What Is a Power Tower — and Who Is It For?
A power tower is a freestanding steel station that gives you a pull-up bar, dip handles, and a knee-raise station all in one place. No cables, no electricity, nothing to plug in — it runs entirely on your bodyweight.
It’s perfect for home, and especially practical here in Nepal. When roads flood, when loadshedding hits, when the gym is too far or too crowded — your tower is right there. It never closes. It never has a queue. And it fits in a spare room, garage, or covered veranda.
It won’t replace heavy barbells for leg strength, sure. But for your back, chest, shoulders, arms, and core — all in one compact spot — it’s hard to beat. And it grows with you: start with assisted moves, and months later you can be doing weighted pull-ups on the same frame.
Want to see every exercise and progression this setup supports? Head over to our main guide: The Complete Power Tower Workout: Build Real Upper-Body Strength at Home.
Stamina Pull Up Bar Tower & Dip Station
Weather-resistant freestanding power tower built for home and outdoor use. Covers pull-ups, dips, knee raises, and push-ups — holds up to 300 lbs.
View on Amazon →This page may contain affiliate links. If you buy through them, Bodylix may earn a commission at no extra cost to you.
Set It Up Safely First
Before you do one rep, check these things first:
- Ceiling height: You need enough room to hang fully extended. Measure it. Many people skip this and end up hitting the ceiling or a fan on every rep.
- Weight rating: Get a tower rated for at least 130kg even if you weigh less. Dynamic moves and later adding a vest put more load on the frame than just standing still.
- Stability: Push the frame gently from side to side. If it moves, tighten every bolt, level the floor, or put a thin rubber mat under the legs. A wobbly tower is how good workouts turn into accidents.
- Grip: Wipe the bars and handles before every session. Sweaty hands cause slips.
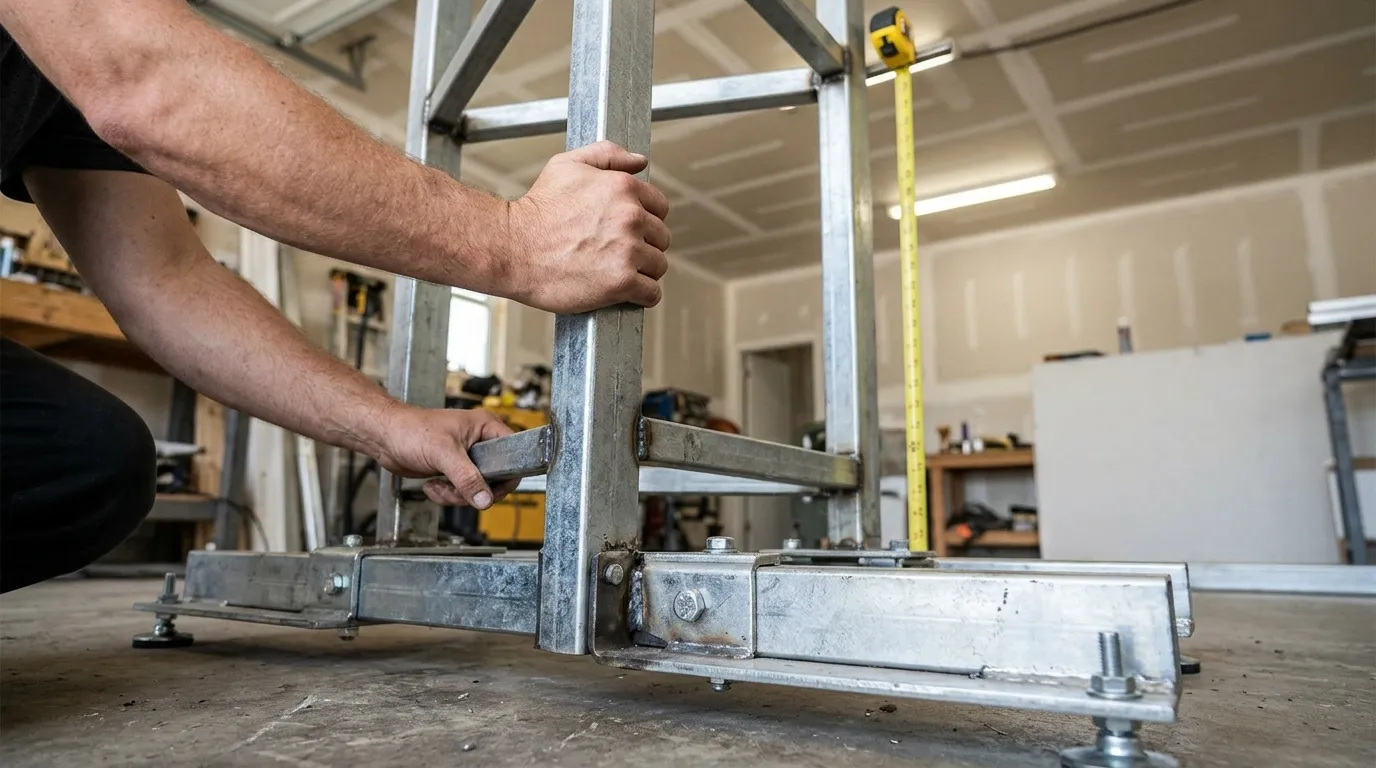
I learned that lesson the hard way. My first tower sat on an uneven floor and I told myself “it’s fine, feels steady enough.” Halfway through my third week, doing dips, the whole frame shifted sideways. Scared me more than it hurt me. I put a thin rubber mat under the front legs and tightened every single bolt. That small change made every rep feel solid. Don’t ignore the wobble. You don’t get used to it — you fix it.
Know the Four Stations
Your tower has four main work areas. Here’s what each one does:
- Pull-up bar (top) — Builds your back, biceps, shoulders, and grip. This is your pulling engine.
- Dip handles (middle sides) — Builds chest, triceps, and front shoulders. Lean forward a bit to hit more chest; stay upright for more triceps.
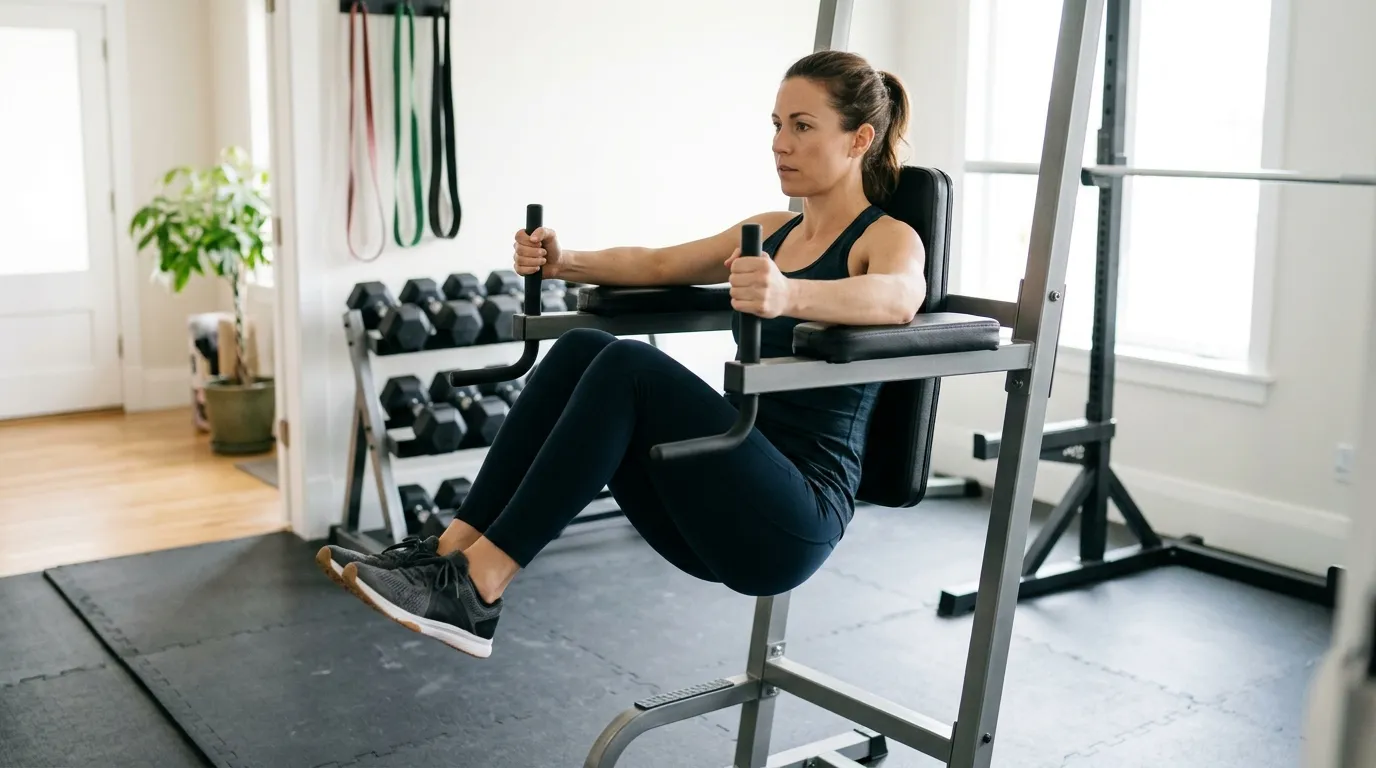
- Knee-raise station (back/bottom) — Pads support your forearms so you can lift your legs and work your abs and hips without straining your lower back.
- Lower push-up bars — Gives you a better angle than the floor, saves your wrists, and lets you go deeper.
Warm Up Properly
Never skip this. Cold shoulders and elbows get hurt. Spend 5 to 10 minutes going through this:
- Arm circles forward and backward — 10 each way
- Band pull-aparts — 15 reps
- Scapular pulls — 10 reps (hang, pull your shoulder blades down and together, then lower slowly)
- Easy push-ups or wall push-ups — 8 reps
- Short dead hang — 20 seconds, relaxed but active
Pick Your Starting Level
Don’t force a move you aren’t ready for. Be honest with yourself and start in the right group:
| Level | Where You’re At | Start With |
|---|---|---|
| A — Just getting started | Can’t hang comfortably for 20 seconds | Dead hangs, scapular pulls |
| B — Building base | Can hang comfortably but can’t pull your chin to the bar | Band-assisted pull-ups, slow negatives |
| C — Early progress | Can do 1–3 pull-ups with help or partial range | Assisted reps, full-range negatives |
| D — Ready to grow | Can do 3+ pull-ups and 5+ dips | Standard routine, start reducing assistance |
Your Full Beginner Power Tower Workout Routine
This is your go-to routine. It balances pulling, pushing, and core work evenly so nothing gets left behind.
| Exercise | Beginner Version | Sets × Reps | Rest | Main Muscles | Make It Easier | Make It Harder |
|---|---|---|---|---|---|---|
| Assisted Pull-Up / Negative | Loop a band over the bar for support, or jump to the top and lower yourself slowly over 3–5 seconds | 3 × 3–6 | 90 sec | Back, biceps, shoulders | Thicker band, shorter range of motion | Thinner band, pause at the bottom, full unassisted pull-up |
| Incline / Band-Assisted Dip | Feet on the floor, or a light band under knees to share the load | 3 × 4–8 | 90 sec | Chest, triceps, front shoulders | Narrower grip, lean back slightly, higher incline | Full dip, take 3 seconds to lower yourself |
| Push-Up on Tower Handles | Hands on the lower bars or on the floor | 3 × 8–12 | 60–90 sec | Chest, shoulders, triceps | Knees on floor, hands higher up the bars | Feet elevated, slow 3-second lowering |
| Supported Knee Raise | Back against the pad, lift knees toward chest, lower slowly | 3 × 6–12 | 60 sec | Abdominals, hip flexors | Lift one knee at a time, smaller range of motion | Legs straighter, do hanging from the bar instead |
| Scapular Pull / Dead Hang | Hang from bar, pull shoulder blades down and together, hold, then release | 2–3 × 10–20 sec hold | 60 sec | Grip, upper back stability | One foot resting on a chair | Longer hold, squeeze back muscles harder |
Do this routine 2 days a week for the first 4 weeks. Only move to 3 days a week when you feel fully recovered and ready to go again between sessions.
Your 6-Week Progress Plan
This is your roadmap. Don’t skip ahead. Spend the time where you are — your body is building strength you can’t see yet.
| Phase | Timeline | What to Focus On |
|---|---|---|
| Phase 1 — Learn & Build | Weeks 1–2 | Master your form above all else. Use as much assistance as you need. Aim for 2 sessions weekly. Don’t worry about speed — worry about control. |
| Phase 2 — Add Volume | Weeks 3–4 | Add 1 rep per set where you can. Switch to a lighter band if you have one and feel ready. You can move to 3 days a week if you recover fully between sessions. |
| Phase 3 — Test & Shift | Weeks 5–6 | Try 1 or 2 reps with no assistance at the start of your set. Slow your lowers down to 5 seconds. If supported raises feel too easy, try hanging knee raises instead. |
| Phase 4 — Keep Going | Week 7+ | Move to full pull-ups, full dips, and straight-leg raises — only when every single rep looks clean and controlled. |
My first real pull-up happened on a Tuesday morning in week seven. I’d done so many slow lowers I lost count. That day I jumped, pulled, and my chin cleared the bar — and I just hung there for a second, surprised it actually worked. It wasn’t perfect. It wasn’t fast. But it was all me. Progress rarely happens the way you imagine it. It’s slower. It’s messier. But it’s real. If you’re in week four and still using a band — keep showing up. Your moment is coming.
Want more structure around your habits — not just your workouts? Our 30-Day Calisthenics Reset lays out nutrition, recovery, and daily movement alongside your tower work.
Common Mistakes and How to Fix Them
- Swinging to get up — Momentum might get your chin over the bar, but it’s not building real strength and it teaches bad habits. Pause for a second at the top and bottom of every rep. No kipping until you can do 10 strict reps.
- Going too deep on dips — If your shoulders roll forward or your elbows flare out wide, you’ve gone too far. Stop when your elbows are just below shoulder height — higher if you feel any pinching.
- Hunching your shoulders — Keep them pulled down and away from your ears before you even start pulling. Shrugging wastes energy and strains your neck.
- Skipping core work — It’s easy to focus only on pull-ups and dips. But the knee-raise station builds the midsection that holds everything else together. Use it every session.
- Too much pushing, not enough pulling — Dips and push-ups feel satisfying so it’s tempting to pile them on. Keep pulling volume equal to pushing volume so your posture stays balanced and your shoulders stay healthy.
- Adding weight too soon — Save the weighted vest and backpack until you can do 10+ clean bodyweight reps comfortably. Patience builds the foundation; impatience builds injury.
If you’re new to bodyweight training overall, our Bodyweight Exercises for Beginners guide covers the basics that make everything on your tower easier — squats, planks, push-ups, and more — all with zero equipment needed.
Your Pre-Workout Safety Checklist
Go through this before every single session:
- [ ] Tower is stable, bolts are tight — no wobble
- [ ] Weight rating is higher than your weight plus any gear
- [ ] Bars and handles are dry and grippy
- [ ] Warm-up is done — never start cold
- [ ] Pulling, pushing, and core moves are all included
- [ ] Resting long enough between sets — don’t rush
- [ ] Last rep looks as good as the first one
- [ ] No sharp joint pain — muscle burn is good; joint pain is not
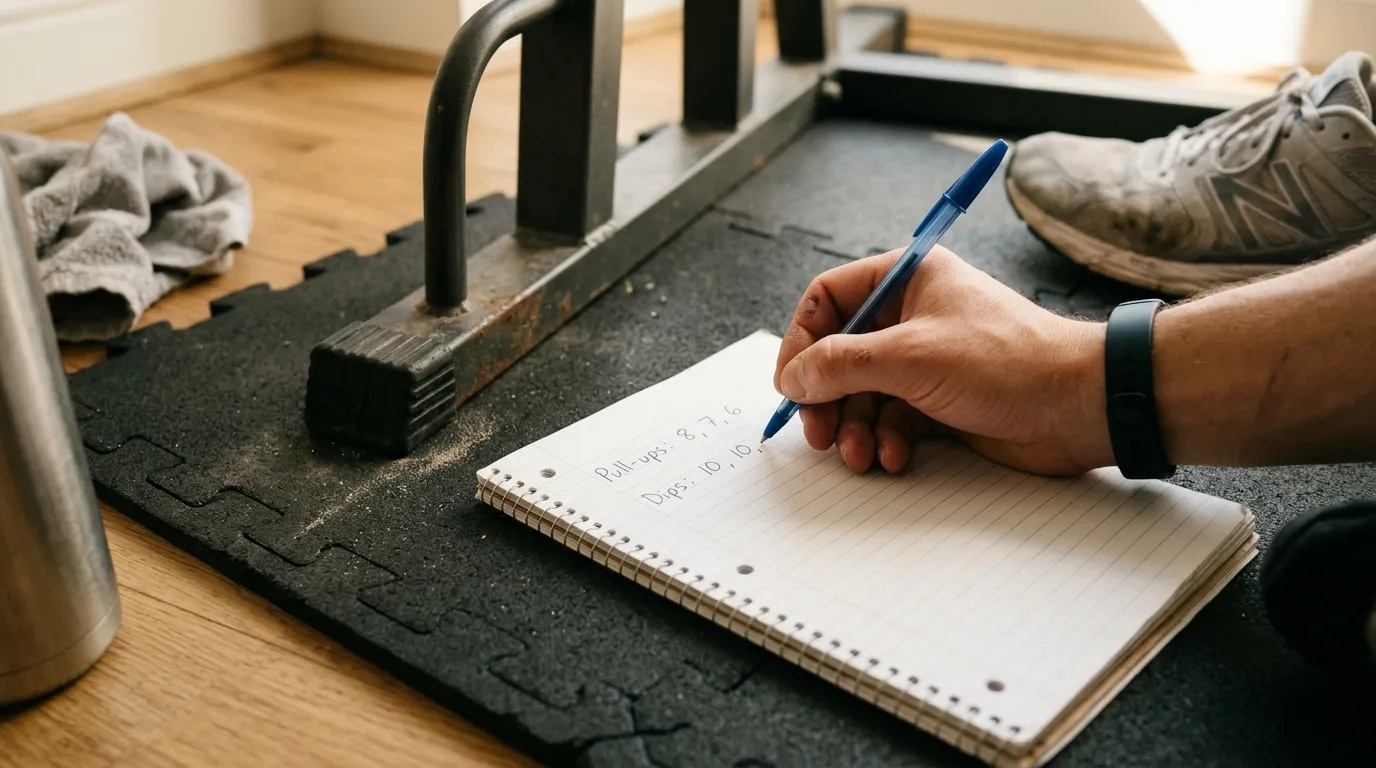
- [ ] Rep count written down — track it
Building out your home gym beyond the tower? Our Home Gym Setup Guide walks you through what to buy first, what to skip, and how to make it work in small spaces.
Questions & Answers
Can a total beginner really use a power tower?
Yes — absolutely. Start with dead hangs, scapular pulls, assisted reps, and slow lowers. A power tower is one of the most forgiving home gym tools because you control every part of every rep — how far you go, how fast you move, how much help you use.
How often should I train?
Start with 2 non-consecutive days — say, Tuesday and Friday. By weeks 5–6 you might feel ready for 3 days, but only if you wake up fresh and ready each time. More days don’t mean faster progress if you’re tired and your form falls apart.
What if I truly can’t do a pull-up yet?
That’s true for almost everyone when they start. Build up step by step: dead hangs for grip, scapular pulls to learn the movement, band-assisted reps to share the weight, and slow negatives to build strength without pulling your full bodyweight. Most people get their first real pull-up in 6 to 10 weeks.
Do I need anything else alongside this?
For your upper body — no, the tower covers it. You’ll want separate leg work though — bodyweight squats, lunges, glute bridges — since the tower doesn’t hit those muscles much. And eat enough protein and enough food overall; you can’t build strength on too few calories.
How long until I see changes?
You’ll feel stronger in 2 to 4 weeks as your nervous system adapts. You’ll see visible changes in 8 to 12 weeks of consistent effort. Most people overestimate what they can do in a week and underestimate what they can do in a few months.
Can I combine this with other plans?
Yes. Our 30-Day Fitness Reset works well alongside this for broader habit building, and our Full-Body Gym Plan pairs nicely if you add other equipment later.
Wrapping Up
Honestly? Keep it simple. Don’t overcomplicate it. Two days a week to start: pull something, push something, lift your legs. Three sets each. Write the numbers down. Every week try to do one more rep or lower a little slower. That’s it.
Don’t rush to “graduate.” Spend a few weeks in each phase. Your body is building strength you can’t see yet — in tendons, ligaments, and stability — and that matters more than anything visible. Be patient with the quiet early weeks. They’re the foundation everything else sits on.
Disclaimer: This article is for general guidance only and is not medical advice. Results vary from person to person. Always consult a healthcare provider before starting a new exercise program, especially if you have existing injuries or health conditions.
For more home workouts and practical fitness advice visit bodylix.com

Fitness Specialist & Former Tactical Trainer
Bal Krishna Poudel has spent more than 19 years in law enforcement organization, and fitness has been at the center of it all. He knows physical conditioning, dynamic strength training, and everyday wellness inside and out. For close to two decades, he taught at official police training centers, getting officers ready for the physical demands of the job—building their endurance and operational fitness. These days, he coaches people in his local community on strength and fitness. At 49, he doesn’t just talk about staying active—he lives it, showing up every day to train and move. He writes for Bodylix, where he shares workouts and nutrition advice that regular readers can actually use, backed by science and built around one goal: helping people stay strong and healthy for the long haul.
